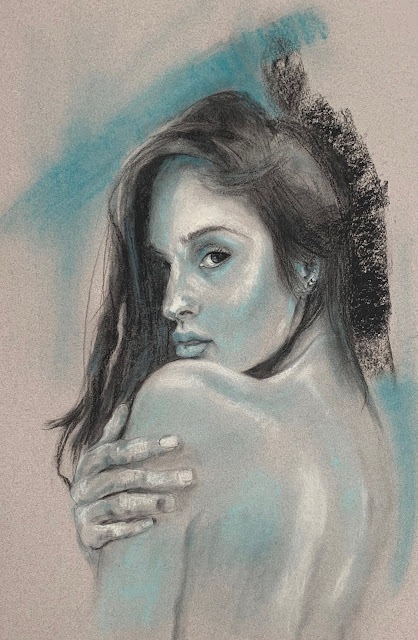
Mermaid acrylic portrait
 |
| Mermaid |
Mermaid is probably one of my most complex paintings. It primarily is an acrylic piece but does have some touches of color pencil and iridescent pastels for finishing touches. This was worked on a mixed media board. It was completed using a number of inspirational photos, again from Pinterest or Unsplash. Since many of the photos on Pinterest are copyright protected I usually start with a base photo that I know is copyright free. I utilize, Pixabay, Unsplash, or PMP.
One of my art goals for this year is trying to create more complex compositions without relying on or completely copying just one photo. In this piece I started with the original reference of the girl, but then adjusted some of her features based on the drawing in the middle of the bottom row. These are just subtle changes, but I think they give a different dimension to the entire piece. That is another thing I have learned from my course that has really set me free - you, the artist, are free to change anything you want. She only has to look humanist at the end and people who never saw the original photo can be convinced.
I truly wish I could say that I put this together in GIMP, but actually I just didn't think I would have the patience it required. So I went back to my old tried and true method which is always done on tracing paper so I can see through it:
I start using a blank word doc and load all the reference photos into it
Then size the base photos to my completed drawing size
Next size other photos to get the various ideas close to fitting my drawing size
I can either blow up images and use the computer like a light box or draw them to size
Then place that portion over my base drawing (in this case the girl bottom left)
Since I can see through the tracing paper it is easy to judge if I can size/position the component correctly, or at least check to see if I have things aligned.
Sometimes I go back into the photo program and use the crop tool and reposition the section to better fit the pose, doing everything to make it easier for me to visualize the final result. All the moving, tracing and erasing is done on the tracing paper.
Then I can put the completed drawing onto my painting paper/board and hopefully not have to erase and potential damage the surface.
Once painting begins, the next trick is to remember what I chose from each photo and bring it up on the iPad at the appropriate time to get the details. Next is getting the lighting somewhat correct so shadows are in the proper places and that nothing is really glaringly incorrect and stands out.
thanks for stopping by and taking a look.
Inspiration photos:


Comments